
In this article we will tell you how to create a shared folder for transferring files between computers for further work with GPO
You might be interested in our previous article: How to install/use Group Policy(GPO)In this article, we have described in detail the installation and use process.
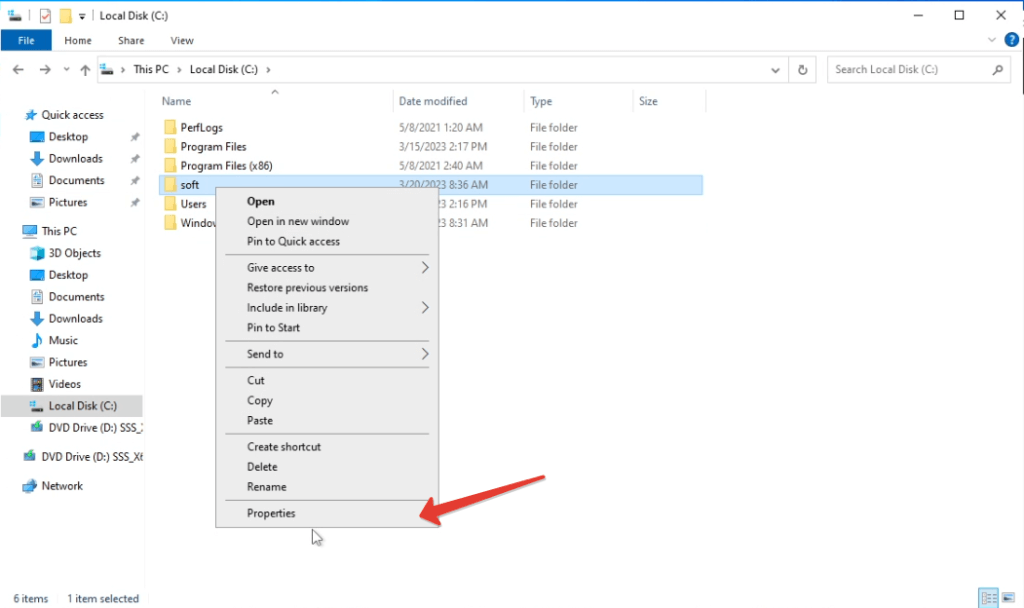
Step 1. Create a shared folder on Windows
Select the folder you want to share.
Right-click on the folder and select “Properties” from the context menu.
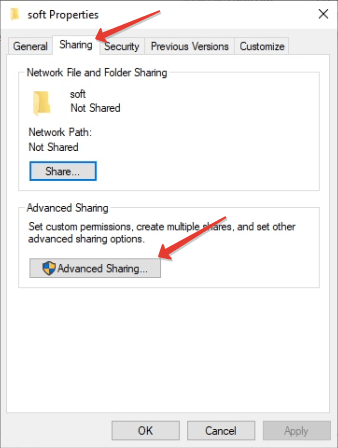
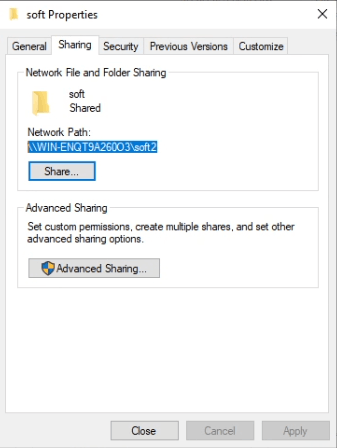
In the “Properties” window, select the “Sharing” tab.
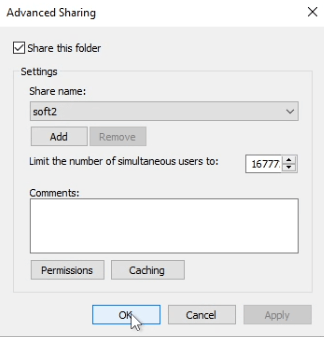
Click the “Advanced Sharing” button.
In the “Advanced Sharing” settings, select the “Share this folder” option.
Enter the name for the shared folder in the “Name” field.
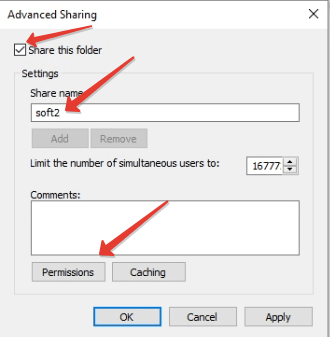
This is not a required item, it is needed to write files to a folder:
Configure the permissions for the shared folder by selecting the appropriate options in the “Permissions” section.
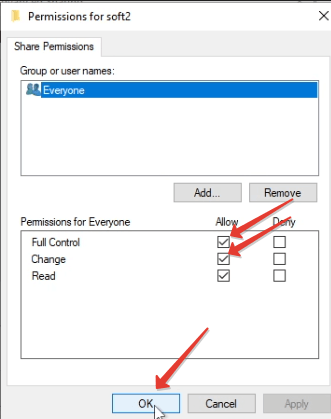
Click “OK” to save the changes.
Now the selected folder will be available to all users on the network who have the appropriate permissions. They can connect to the shared folder and use its contents.
Step 2 Using a Shared Folder
In the “Properties” window, in the “Sharing” tab located link to folder
To go to the folder, enter the link you copied into the address bar
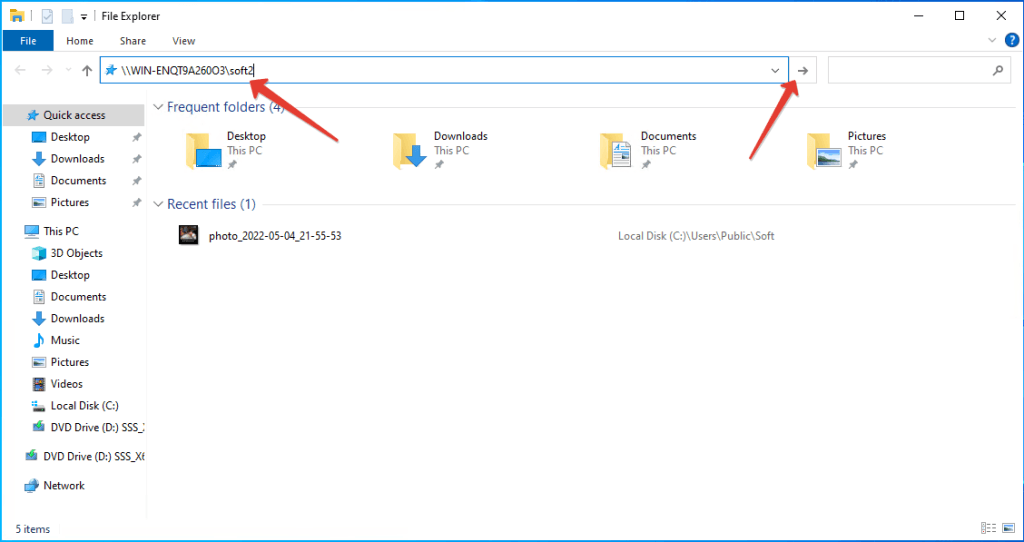
Now we know how to use a shared folder
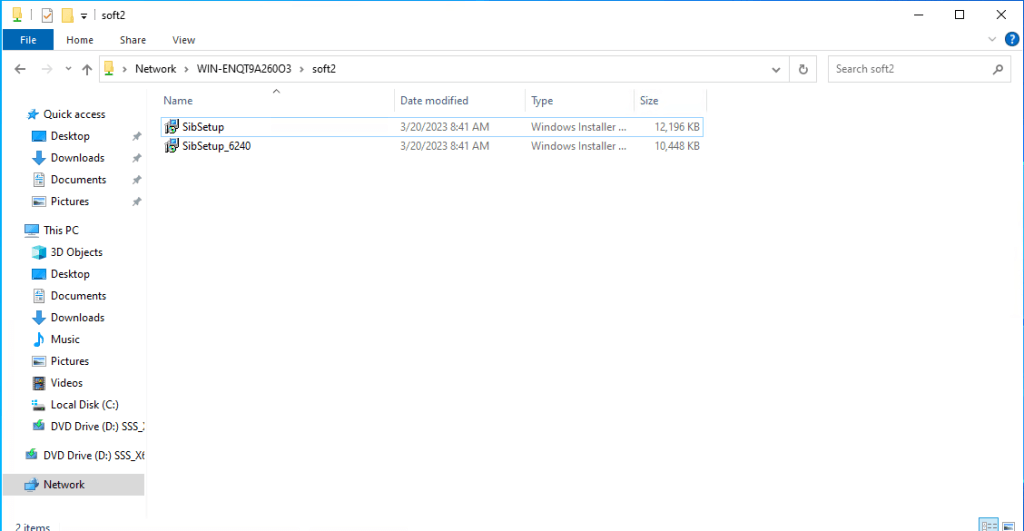
This is what this shared folder on the computer looks like
In this article, we have described the process of setting up and using a shared folder, which is an important step in using GPO.
To continue the Group Policy installation process, follow the link provided
Previous article: How to install a GPO.
See also:
Silent Install Builder 6 Documentation
How to deploy an exe-file using Group Policy (exe to gpo)
Other software at apreltech.com